

Article: How to set up your Timemore C3S Pro grinder
How to set up your Timemore C3S Pro grinder
Just want the settings? Jump to them ↓
The Timemore C3S Pro is the grinder in our Home Brewing Kit, and it's the one we'd point most people towards if they're grinding by hand for the first time. It's all metal, it grinds evenly, and once you know how the dial works it takes about ten seconds to set up for a V60 or an AeroPress.
The bit that catches people out is that the dial doesn't show a number you can read off. You count clicks from a fixed starting point, so this guide walks through finding that point, counting from it, and the settings Sam Ford, our head of coffee, and I settled on for each brewer after testing them at the roastery. Keep it bookmarked; it's the page we'll send you back to.
If you want the background on why grind size matters so much, our guide to choosing the right grind size covers the theory. This one is purely about the C3S Pro.
How the grind dial works

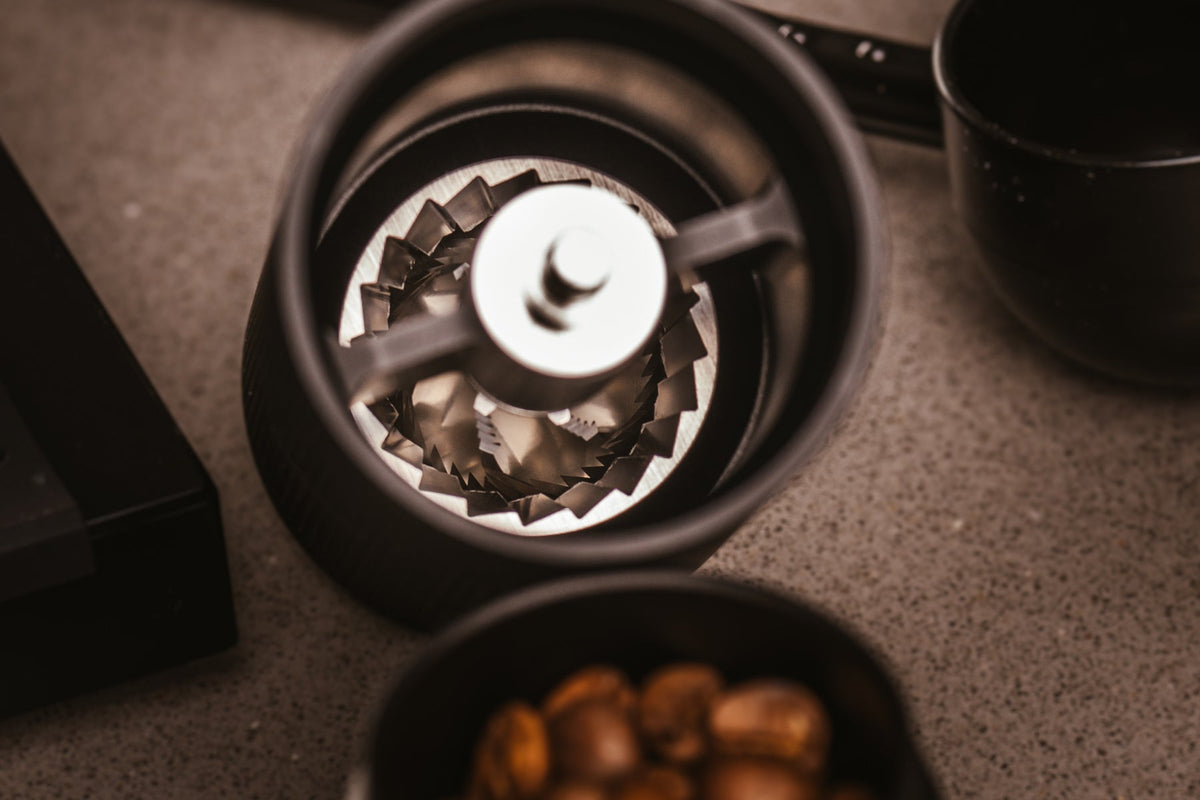
The adjustment dial sits underneath the burr, so you'll only see it once you've unscrewed the catch cup at the bottom. Turning it clockwise brings the burrs closer together for a finer grind, and turning it anticlockwise opens them up for a coarser one, as Timemore's own guidance sets out.
Each click moves the burrs by roughly 0.08mm, with 12 clicks to a full turn of the dial. That's a decent step size for filter brewing, which is what the C3S Pro does best. It will grind for espresso, but the steps are too big to fine-tune a shot properly, so we'd treat it as a filter and AeroPress grinder.
Step 1: find zero
Zero is the point where the burrs touch, and every setting in this guide is counted from it.
- Make sure the grinder is empty, then unscrew the catch cup.
- Hold the handle still so the burr can't spin.
- Turn the dial clockwise until it stops. Go gently; you're feeling for the burrs meeting, not forcing it tight.
That's zero. Don't grind at or near it, as running the burrs against each other will dull them.
Step 2: count your clicks
From zero, turn the dial anticlockwise and count the clicks out loud. Each one is a firm, audible step, so it's hard to lose count. Stop at the number for your brewer in the table below, screw the catch cup back on and you're set.
Once you've found a setting you like, you don't need to go back to zero every time. If you switch between brewers, it's worth returning to zero and counting out again, because it's the easiest way to be sure where you are.
C3S Pro settings for each brewer
These are clicks anticlockwise from zero. The "start at" numbers are the ones Sam and I landed on, brewing with the coffees that come in the kit. The V60 and cafetiere ranges are Timemore's recommended settings for the C3S Pro; Timemore don't list one for the AeroPress, so that range is ours.
| Brewer | Start at | Usual range |
|---|---|---|
| V60 pour over | 15 clicks | 13 to 16 |
| AeroPress | 13 clicks | 12 to 16 |
| Cafetiere | 18 clicks | 17 to 20 |
Every bean grinds slightly differently, and lighter roasts usually want a click or two finer than darker ones, so treat these as a starting point rather than the answer.
If you'd like to check what your grind actually looks like, Kruve, who make coffee sieves, have a free printable grind size chart and Brewler ruler that measures grind size in microns. Print it at actual size, tip a pinch of grounds onto it and you can see whether you're in the right range for your brewer.
Brewing with your V60

For the V60 we use James Hoffmann's better one-cup V60 technique, which is built for exactly this size of brew. It pairs nicely with The Gunpowder, the coffee that comes with the V60 version of the kit.
- 15g coffee at 15 clicks, 250g water just off the boil
- 0:00 pour 50g, then swirl gently to wet all the grounds
- 0:45 pour to 100g, pause at 1:00
- 1:10 pour to 150g, pause at 1:20
- 1:30 pour to 200g, pause at 1:40
- 1:50 pour to 250g, then give it one gentle swirl and let it drain
It should finish draining at around three minutes. The Drip Kettle AIR makes the small, steady pours here much easier than a normal kettle.
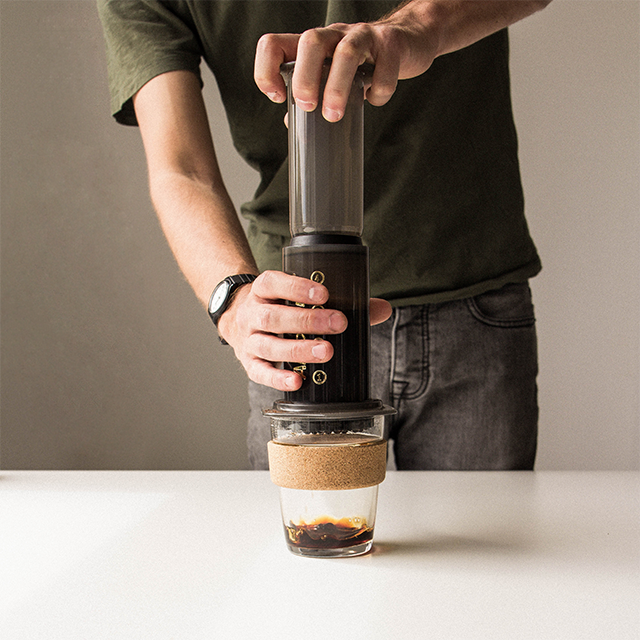
Brewing with your AeroPress
For the AeroPress we use Hoffmann's ultimate AeroPress technique, which is simple, forgiving and works with The Cobbles, the coffee in the AeroPress version of the kit.
- 11g coffee at 13 clicks, 200g water just off the boil
- Pour all the water in, then put the plunger on loosely so nothing drips through
- Wait two minutes, then give it a gentle swirl
- Wait another 30 seconds, then press down slowly and steadily
Dialling it in
Once you've brewed a cup, taste it and move one click at a time:
- Sour, thin or the V60 drains in well under three minutes: go one click finer (clockwise)
- Bitter, dry or the V60 takes much longer than three and a half minutes: go one click coarser (anticlockwise)
- Tastes good but too strong or too weak: leave the grinder alone and change the amount of coffee instead
Change one thing at a time and you'll land on your setting within a few brews.
Looking after the grinder

Brush out the burr and catch cup every week or so with the little brush that comes in the box, and keep water away from the burrs. Store beans in the Airscape and only grind what you're about to brew; ground coffee starts losing its aroma within minutes.
The kit
Everything in this guide comes in one box: the C3S Pro, scales, the Drip Kettle AIR, an Airscape canister and your choice of V60 or AeroPress, with £20 off and 200g of house coffee free to get you started.