

AeroPress Brew Guide
What is the AeroPress and how does it work?
The AeroPress is a wonderfully clever contraption; compact and efficient to use. It brews by steeping ground coffee in a chamber, then gently plunging it through a filter (paper or metal, if you’re feeling particular).
The result is a clean, full-bodied cup with all the richness of espresso and none of the bitterness. Quick, portable, and delightfully fuss-free.
Shop the AeroPress Coffee Maker here.
What you’ll need:
-
AeroPress
The brewer itself, a compact chamber, plunger, and filter cap. Lightweight and durable. -
AeroPress paper filters (or reusable metal filter)
We prefer paper filters, which give you a cleaner cup; however, reusable metal filters are great for on the go. -
Fresh coffee beans (whole bean for freshness, AeroPress grind if ordering pre-ground)
Aim for a medium-fine grind (table salt consistency). Too coarse = under-extracted; too fine = hard to press. Make sure it’s a touch coarser than espresso. -
Coffee grinder
Gives a consistent grind size for even extraction and better flavour – we use the Sage grinder pro. -
Kettle
For heating your water to around 85–95°C, depending on the roast. -
Filtered water
Cleaner water = cleaner taste. Avoid hard or heavily chlorinated tap water. -
Scales
Precision matters. Start with 16g of coffee to 240ml of water as it’s a reliable base ratio. -
Timer
A timer keeps your steep time consistent, making your brew more repeatable and reliable.
For ease, try using scales with a built-in timer, like our Timemore Black Mirror Basic 2, perfect for AeroPress precision. -
Mug or server
You’ll press directly into it.
What is the brew ratio?
If you've ground your coffee to our recommendation of medium-fine (table salt consistency, we suggest a ratio of 1:16 using 12g of coffee to 200ml of water, ideal for lighter or medium roasts when you're looking to bring out a little more acidity.
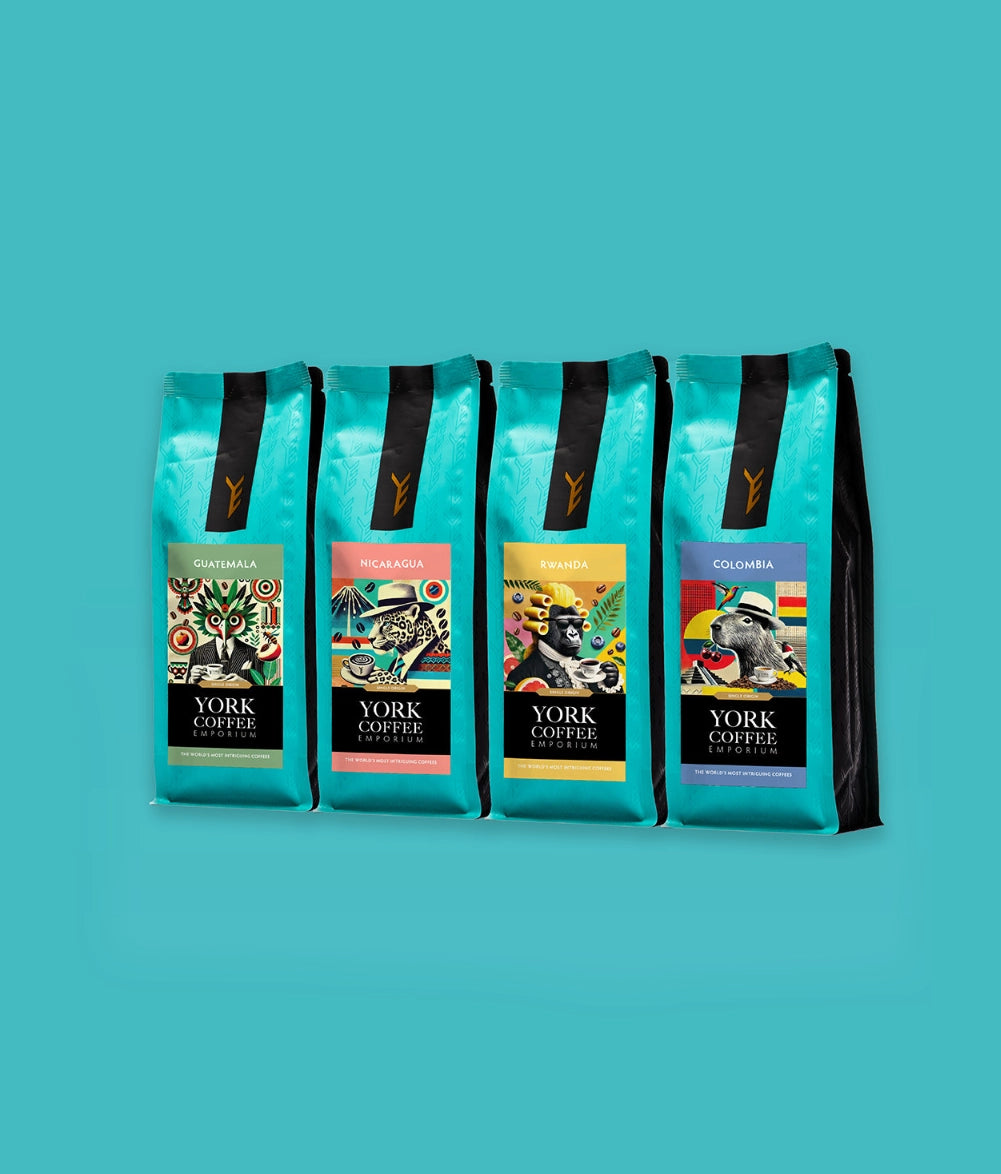
Best York Emporium coffees for AeroPress:
Beans with caramel and chocolate notes often shine through beautifully when brewed in an AeroPress, whereas coffees with subtle floral notes will create a more refreshing cup. Light/medium roasts work well as they provide complexity without being overpowering, the natural acidity resulting in a superbly rounded flavour.
-
Colombia Papayo (Light Roast)
Tropical Fruit • Papaya • Lime
Shop Colombia Papayo
This vibrant single origin bursts with tropical clarity. The AeroPress brings out its juicy papaya sweetness and bright lime acidity, delivering a clean, expressive cup with a refreshing finish, which is perfect for light roast lovers.
-
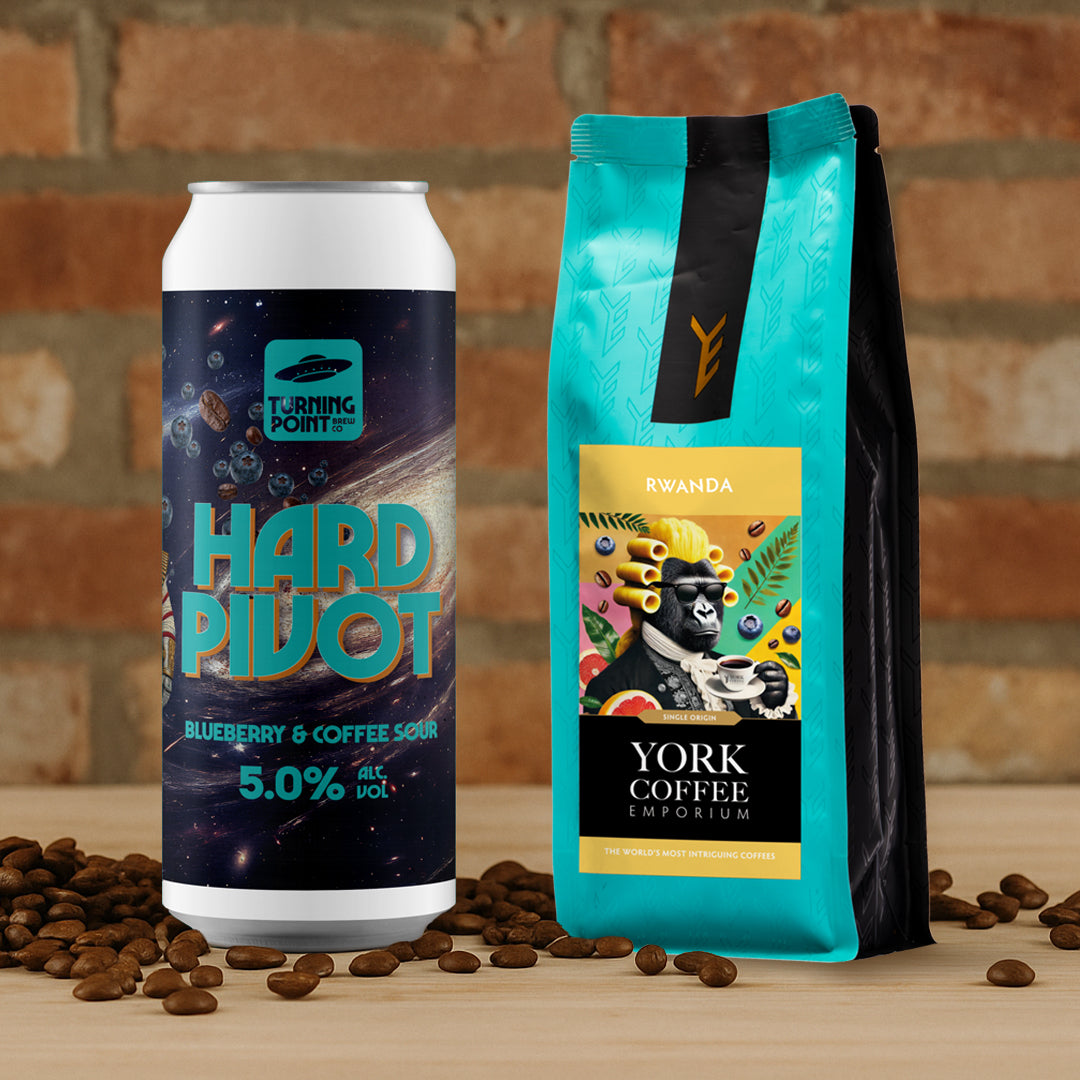
The Dame – Swiss Water Decaf (Medium Roast)
Hazelnut • Milk Chocolate • Caramel
Shop The Dame
This smooth, naturally decaffeinated coffee delivers a creamy, comforting cup. The AeroPress enhances its gentle sweetness and rounded nutty notes. Full flavour, zero caffeine.
How to brew with an AeroPress
-
Boil your water
Heat filtered water to about 93°C. If you do not have a temperature-controlled kettle, boil the kettle and let it cool for 30 seconds. -
Rinse your filter
Insert a paper filter into the AeroPress cap.
Note: Rinsing the paper is not essential. -
Assemble the AeroPress
Attach the cap to the chamber and place it over your mug or server. If using barista scales, place the whole assembly onto your scales and tare. -
Weigh and grind your coffee
While the kettle is heating, weigh out 12g of coffee and grind it to a medium-fine consistency. It should be a little coarser than espresso, like table salt. Add the coffee to the chamber. -
Start your timer and pour
Add 200ml of hot water, making sure all the grounds are evenly saturated. With the Timemore scales, you can switch to auto timer mode and pour in exactly 200g of water. -
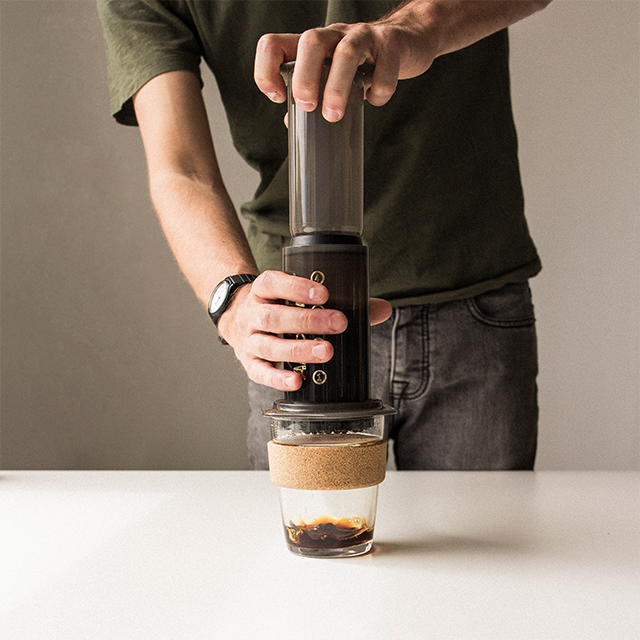
Insert the plunger
Insert the plunger just enough to create a vacuum. This prevents the coffee from dripping through before it brews. Wait for two minutes while the coffee steeps. -
Swirl and press
Remove the AeroPress from the scales, hold it carefully, and gently swirl the liquid inside. This helps knock down any grounds that have settled on top. Wait 10 to 20 seconds, then press down slowly over 10 to 20 seconds using steady pressure. You will feel resistance and hear a soft hissing sound at the end. -
Serve and enjoy
Sip it as-is for a bold, full-bodied brew. Or top it up with hot water for something a little longer, gentler, and wonderfully smooth, similar to an Americano.
Pro Coffee Tips!
-
Try the inverted method
Flip the AeroPress upside-down before adding coffee and water to give yourself more control over steep time. Just be careful when flipping back to press!
Check out our guide to read this in more depth. -
Press gently, as the fastest press is the sweetest.
According to AeroPress inventor Alan Adler, gentle pressing avoids compacting the puck, preserves flow, and delivers a smoother, sweeter brew.
What flavour profile to expect
A well-extracted AeroPress brew should be:
- Smooth and balanced – You want a clean, rich cup without sharp acidity or harsh bitterness.
- Layered with sweetness and complexity – Especially from medium and light roasts: expect notes like chocolate, honey, floral, citrus, or red fruit.
- Texturally rich but not greasy – Thanks to paper filters, it won’t have the heavy body of a French Press, but a bit more heft than pour-over.
Troubleshooting your AeroPress coffee
Does it taste too bitter or harsh?
- It could be a result of over-extraction, meaning your coffee grounds have been steeped in water for too long. Try reducing the steeping time – aim for 1:00 to 1:30 brew time.
- You may need to use a coarser grind size.
- If these options don’t work, try using slightly cooler water, around 80-85°C (175-185°F).
Does it taste weak or watery?
- You may be using too much water. Start with a ratio of 1:15 and adjust to your preference.
- If your grind is too coarse, it can lead to under-extraction, and not enough of the coffee grounds have dissolved. Use a finer grind or slightly more coffee.
- Brew a bit longer (e.g. 1:45 total) and make sure you stir sufficiently to ensure even saturation.
Hard to press?
A hard plunge is usually caused by grind size or resistance build-up. Here’s a breakdown:
- Grind size: A too-fine grind creates excess resistance. Use a medium-fine grind (like table salt) and adjust coarser if pressing feels tight.
- Coffee amount: Using too much coffee can increase resistance. Try reducing the dose slightly if the plunge is stiff.
- Water temperature: Water that's too hot (above ~95°C) can cause the grounds to swell and clog. Stick to 85–93°C depending on your roast.
- Filter issues: Ensure your paper filter is properly placed and not clogged. Rinse before use to reduce resistance.
- Plunger seal: A sticky or dry rubber seal can cause drag. Apply a small amount of food-grade silicone or vegetable oil to the plunger if needed.
That’s it! Your perfect cup brewed your way. Whether you're just getting started or dialing in the details, keep experimenting. Great coffee is about curiosity.
A quick history of the AeroPress
The AeroPress was invented in 2005 by American engineer Alan Adler, the very same chap behind the Aerobie flying ring. Tired of bitter brews and clunky machines, he set out to design a compact coffee maker that used gentle air pressure to create smooth, rich coffee in under two minutes.
Since then, it’s earned a devoted following, complete with fans across the globe and its very own World Championship. Simple, portable, and endlessly versatile, the AeroPress is now a modern coffee essential.
Fancy a change of pace? Explore all our brew guides →
Choose your perfect beans for AeroPress brilliance. Browse our speciality coffee range →